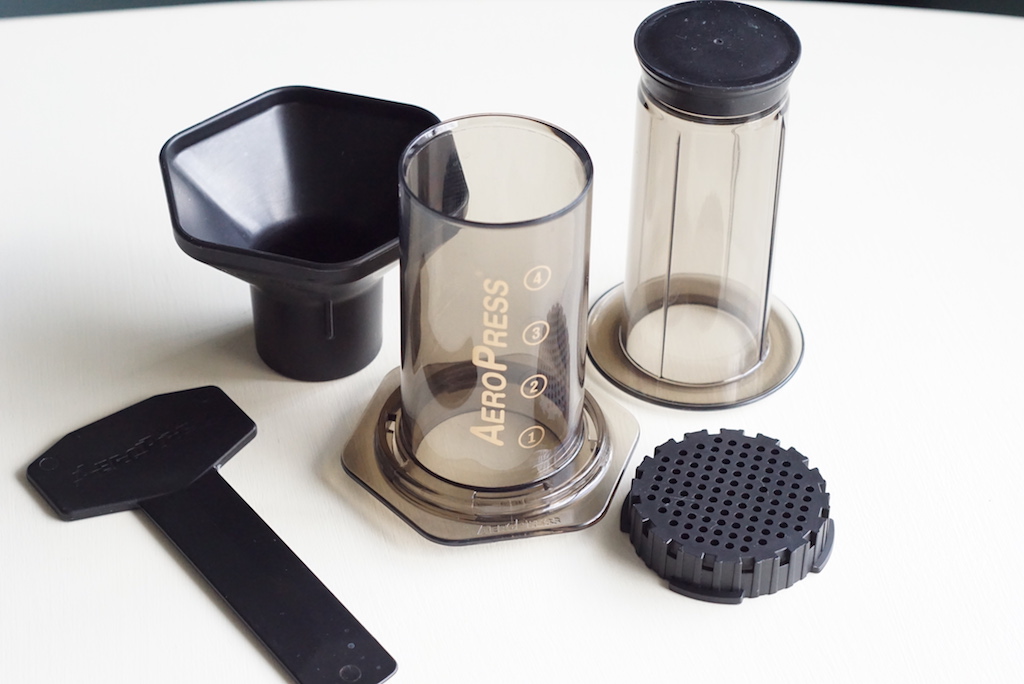

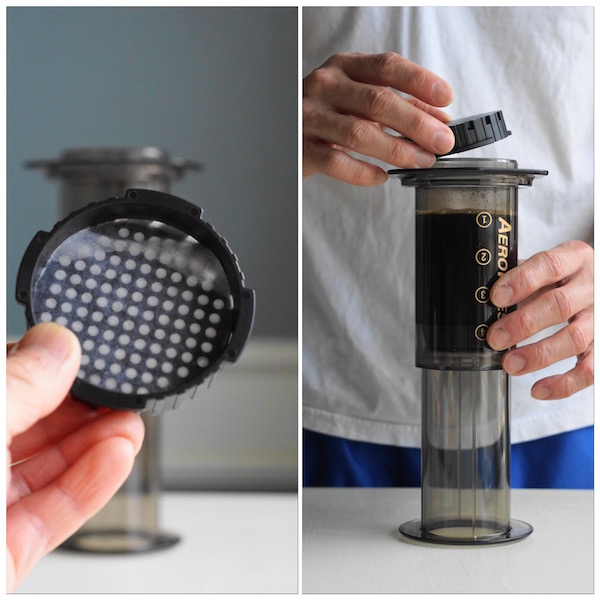
AeroPress is a simple coffee maker that allows you to brew a fantastic cup of coffee at any time and any place. It consists of two nesting cylinder tubes that work together with a rubber seal. The concept is very similar to a syringe, where coffee is being pushed out from the cylinder tubes when pressed down from the top. There is a filter cap at the bottom of the AeroPress which allows you to put a paper filter in. That way, coffee grounds will form into a compact puck after brewing and will ease the cleanup process.
There are 4 reasons why you need to own an AeroPress:
1. It is inexpensive.
2. It is portable and great for traveling, picnics, hiking, and camping.
3. It makes a fantastic cup of coffee resembling an espresso.
4. It is fast and easy to clean up.
How to make a good cup of coffee from AeroPress:
1. Wet the filter paper.
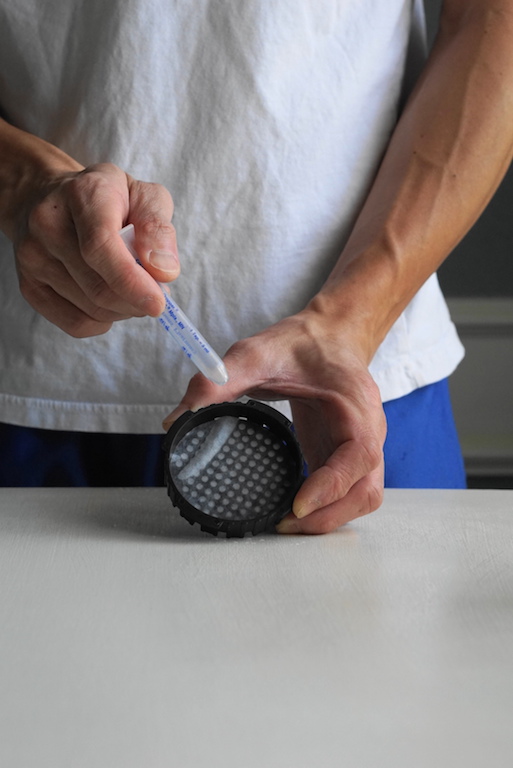

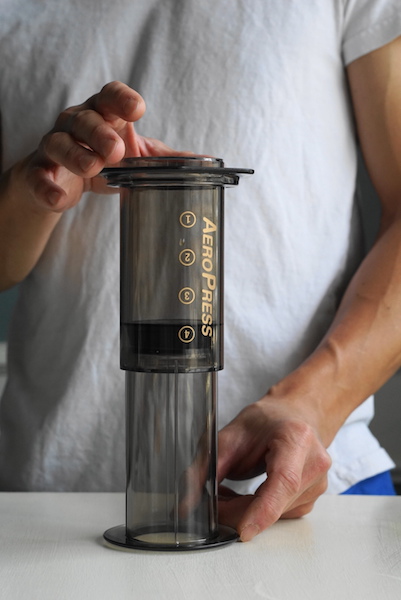
2. Put on the filter cap.

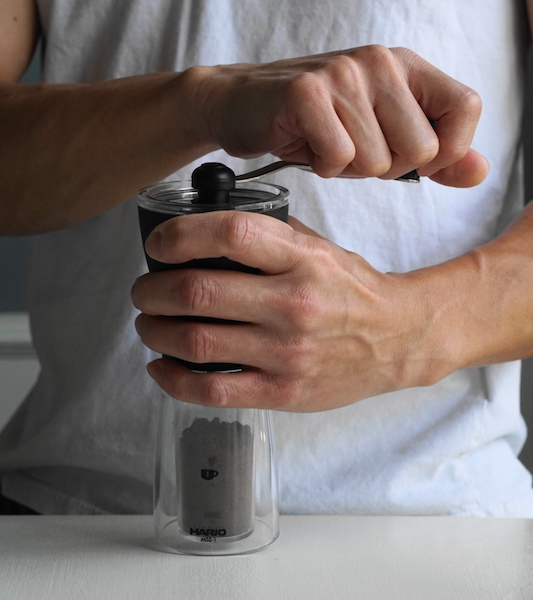
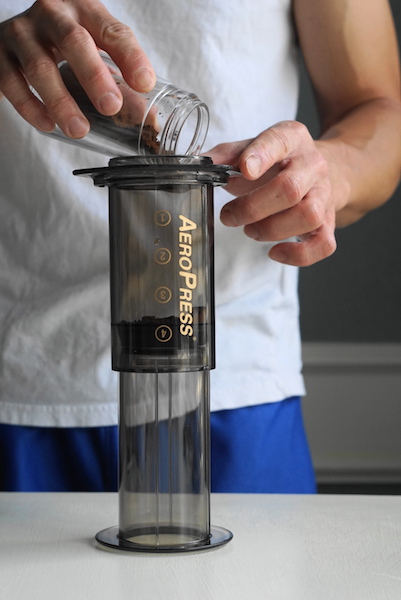
3. Grind 17g (3.5 teaspoons) of beans slightly finer than the filter. I use Hario mini hand grinder and set to 7 clicks from a closed position.

4. Add ground coffee. Simply tap its side several times to level the coffee grounds out.
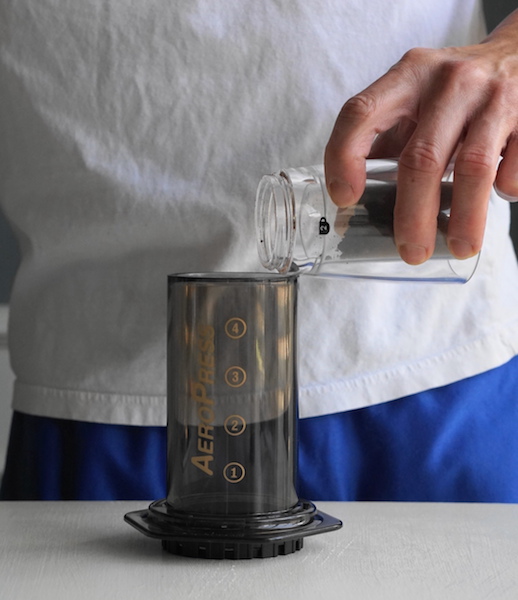

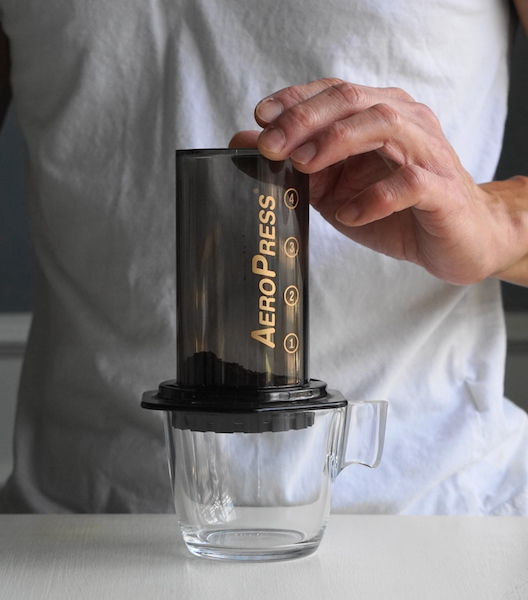
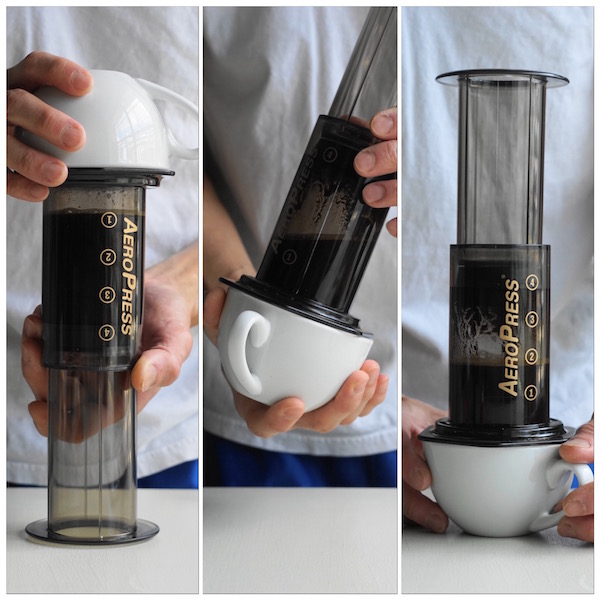
5. Set the device up on a cup.

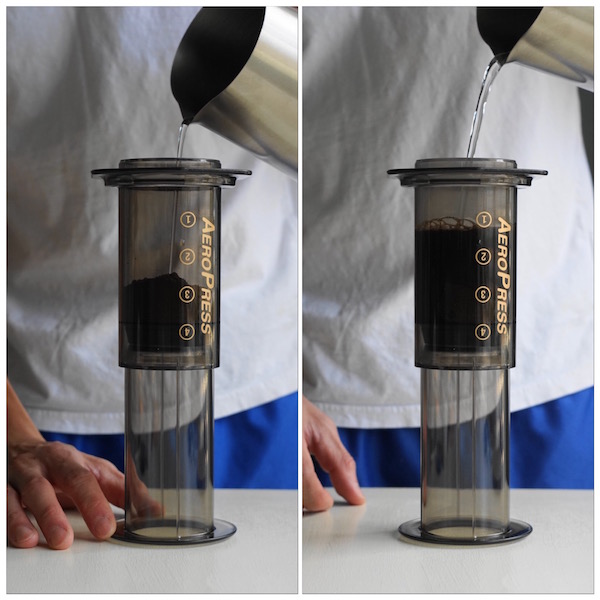
6. Heat 250g (1 cup) of water and bring to approximately 180°F. If you don’t have a thermometer handy, just bring to a boil and let it sit for 1-2 minutes.
7. Add 50g (about a quarter cup) of water to bloom the coffee grounds, then add the rest of water slowly.
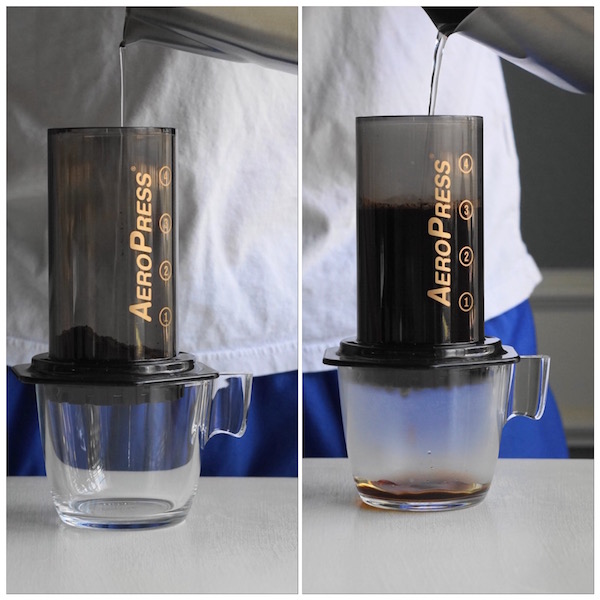

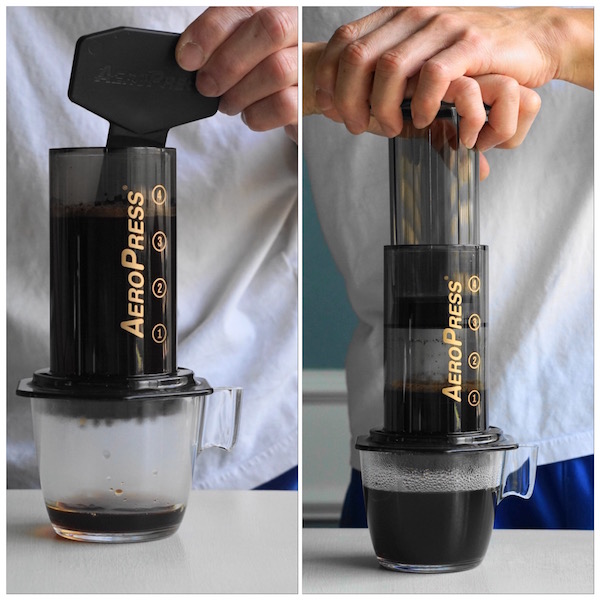
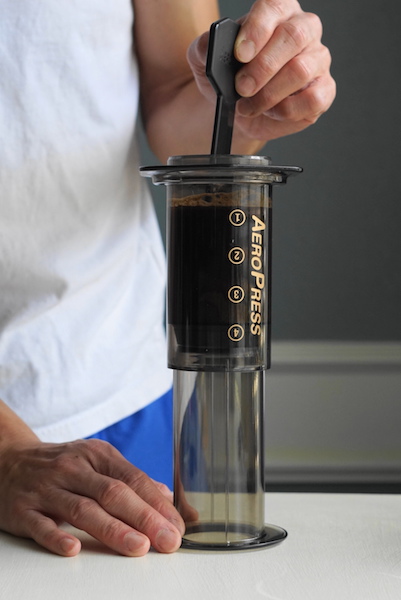
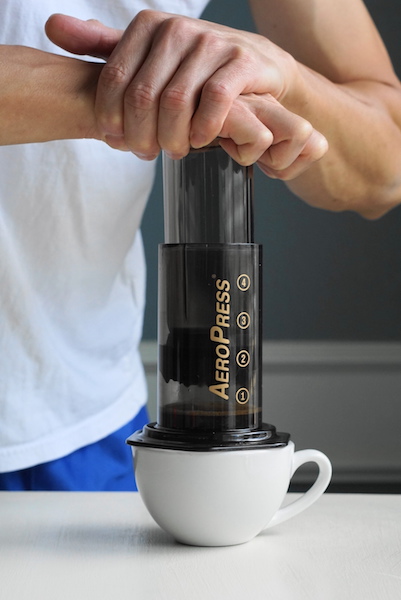
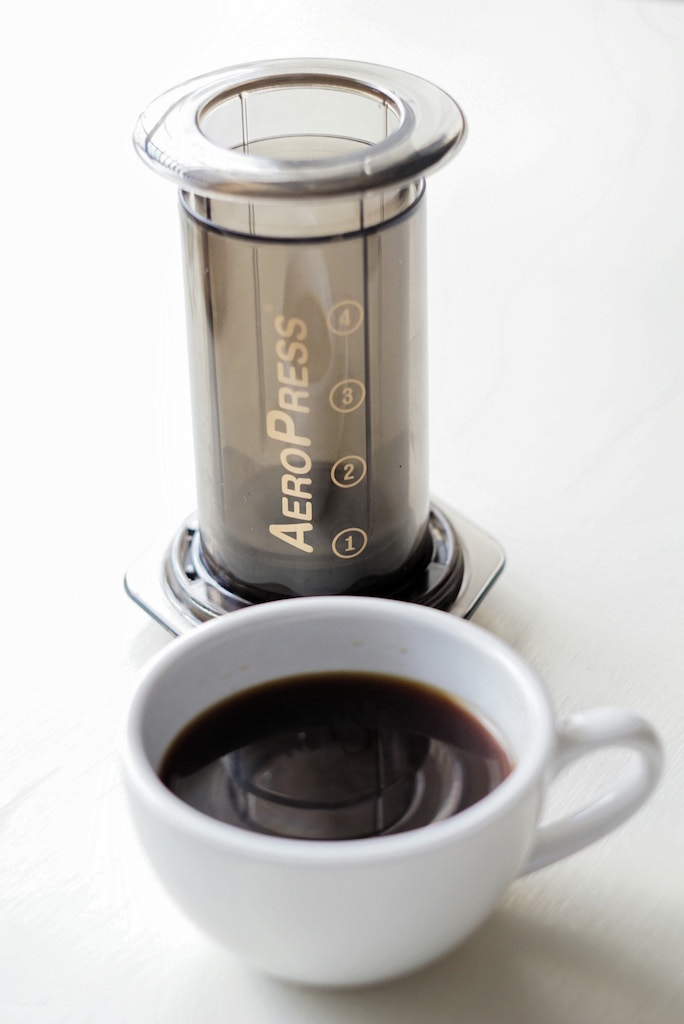
8. Stir it gently and start pressing down. Do it slowly and aim for a total extraction time of 100 seconds starting from your first water pouring. Your coffee is ready!
There is an alternative brewing method with AeroPress and it is called inverted/ upside down brewing. It is similar to the standard standing method mentioned above but with a slight variation.
Here are the steps for AeroPress upside down brewing:
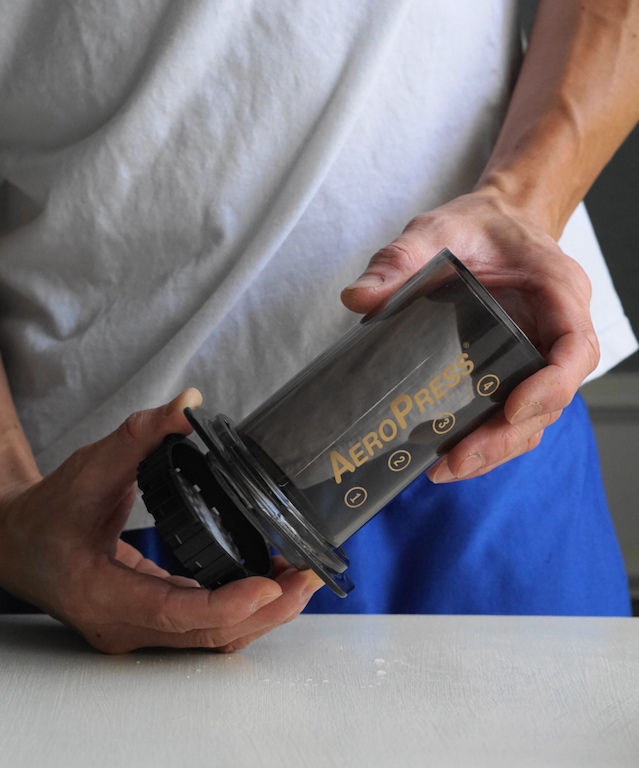
1. Assemble the AeroPress upside down.
2. Grind 17g (3.5 teaspoons) of beans slightly coarser than filter coffee and this time my grinder is set to 10 clicks from closed position.

3. Add ground coffee.
4. Bring water to boil at up to 180°F.
5. Add 50g (about a quarter cup) of water to bloom the coffee, wait 20 seconds, then top off the rest of the water.
6. Stir gently once.
7. Wet the paper filter and put on the filter cap.
8. Flip the inverted AeroPress carefully and place it on a cup.
9. Start pressing down slowly and aim for a total extraction time of 90 seconds.
Personally, I like the inverted method better than the standard method for its taste, flavor, and structure. It has a better mouthfeel.

What you’ll need:
- AeroPress coffeemaker
- AeroPress coffee filters
- A manual burr coffee grinder
- Your favorite cup that can hold your brewed coffee and fit the AeroPress cylinder
- Your favorite coffee beans
- A coffee scale with timer like the Hario Coffee Drip Scale Timer (optional)
What are the Cons?
Now back to reality, the only drawback I can think of is the AeroPress size and its small footprint. You can only serve 1-2 people at a time, so don’t expect to serve a large group without a long wait.
Verdict
In conclusion, AeroPress is a good device that will bring you a lot of fun without putting a dent in your wallet. AeroPress is just like a multi-purpose cooker at home; you can utilize different recipes on a single ingredient. The outcome will never be the same. You just have to play with it to find your favorite recipe. Most importantly, enjoy the fun of brewing with AeroPress!
Photos and article by Latte Art Guy