Making a good cup of coffee depends on several factors. One of the most important factors is the grinder. If you like fresh coffee, don’t skimp on a good burr coffee grinder. Grinding coffee is an essential part of making a perfect cup of joe.
When it comes to getting the right grind for your coffee, it doesn’t always have to be electric. There are many types of manual coffee grinders that deliver consistent ground of all sizes for all types of coffee. But nothing beats the Hario coffee grinder from Japan.
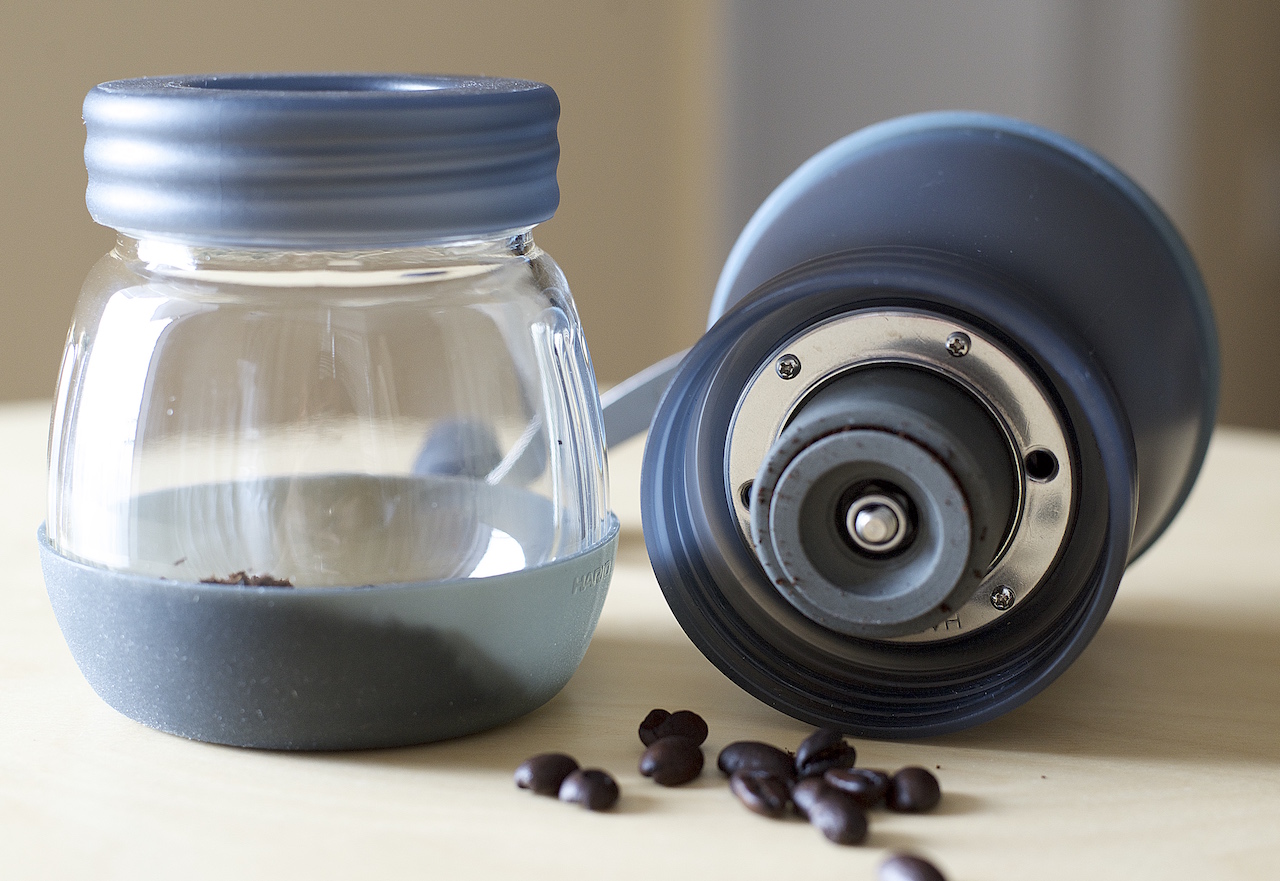
A manual coffee grinder, like the Hario Mini Mill, is an adjustable tool that grinds for different coffee. This manual (hand) grinder is compact and highly portable. It has conical ceramic burrs, stepped grind adjust, and a lightweight plastic body. It weighs merely 11 ounces and can hold about two cups worth of coffee beans.
It is not rocket science to operate this manual grinder but we get questions from readers about the workings of a manual grinder and ways to get the different grind sizes.
So to give you a better understanding of its grinding mechanism, I have dismantled the grinder and exposed the internal parts to show you how it works.


Step-by-step guide to using a Hario manual coffee grinder
1. Remove the bottom receptacle and turn the grind adjustment nut clockwise (turn right) until tight. This will be your starting point.
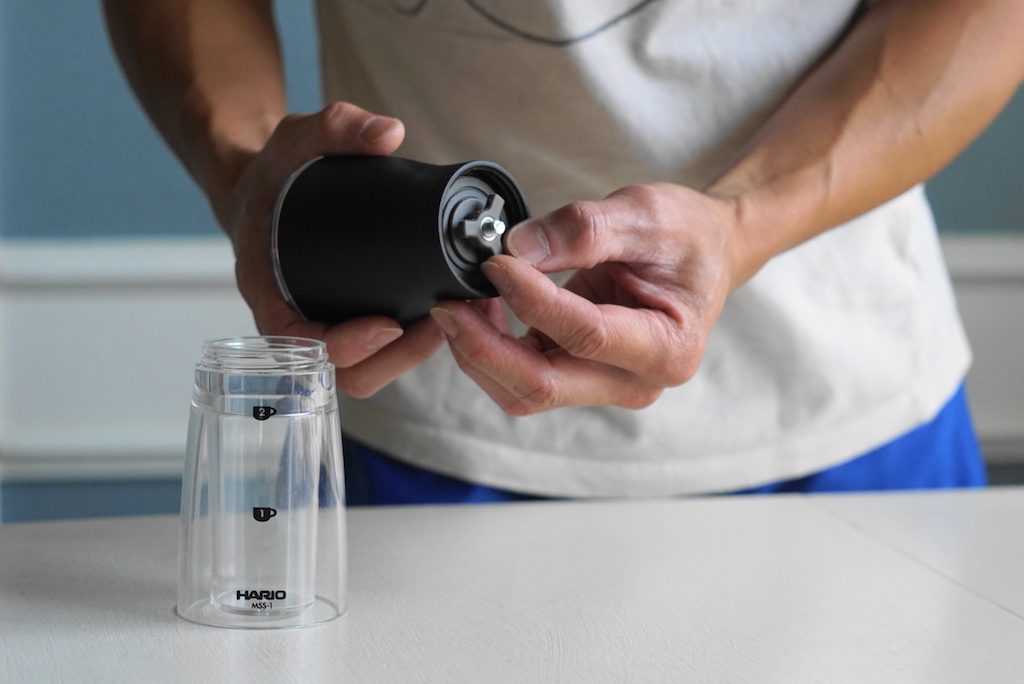
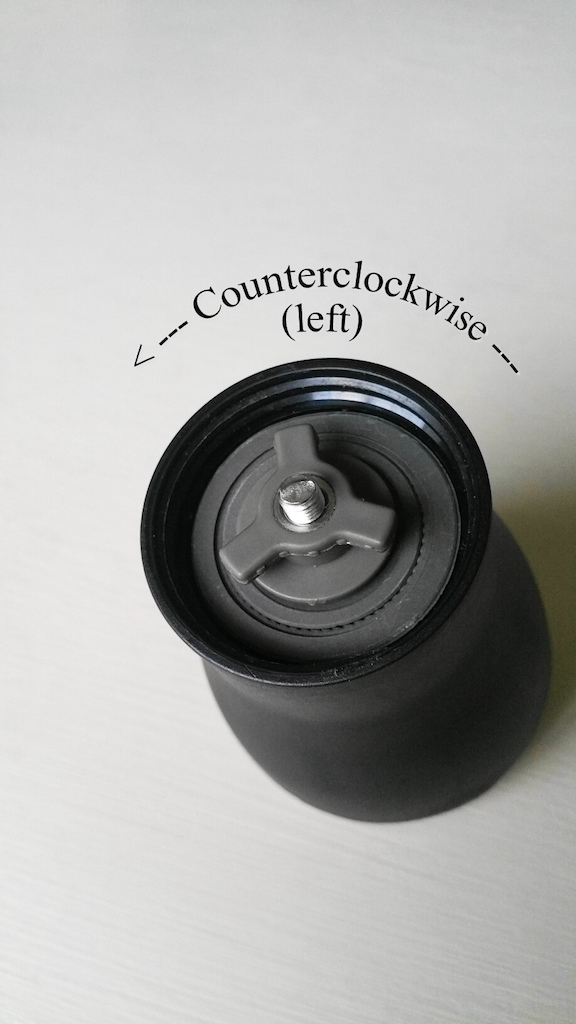
2. Adjust the grind settings by turning the nut counterclockwise (turn left). You will feel and hear the clicks when you turn the nut. Count the number of clicks and use this number as your reference for the grind settings. Basically, you start from a completely closed position and count the number of clicks from there as you loosen the nut counterclockwise.

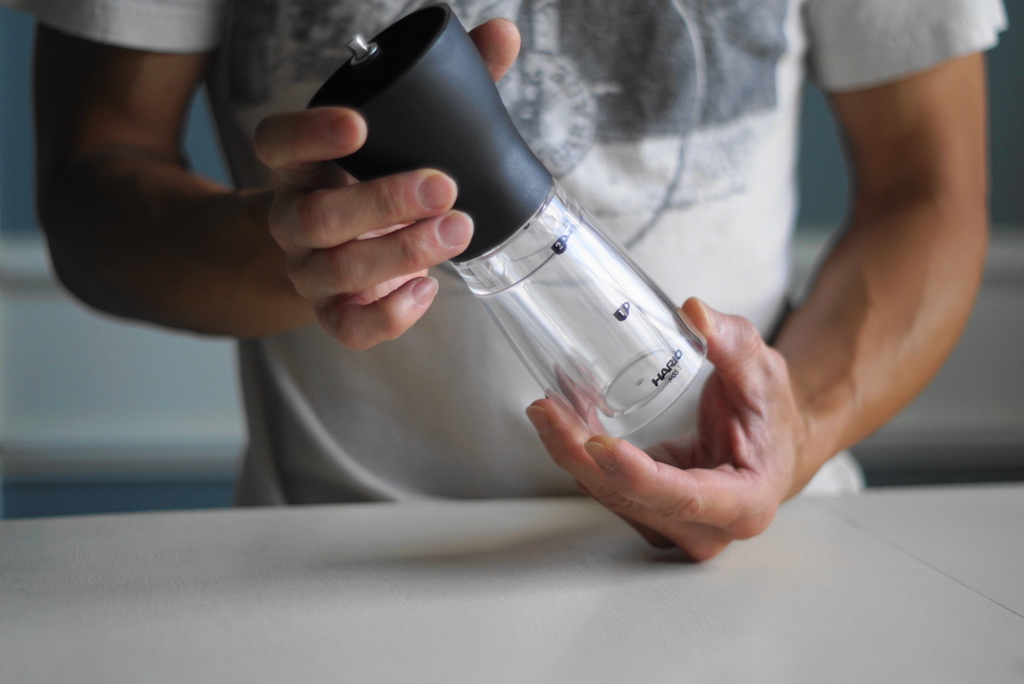
3. Screw the bottom receptacle back into position.
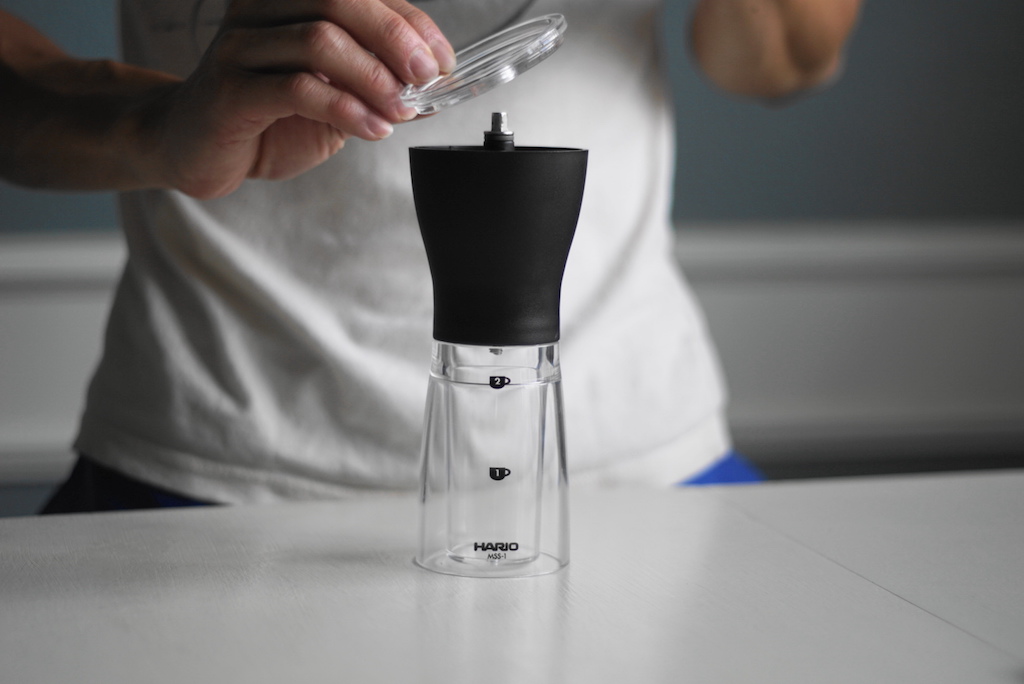
4. Open the top lid and load the hopper with the desired coffee beans.
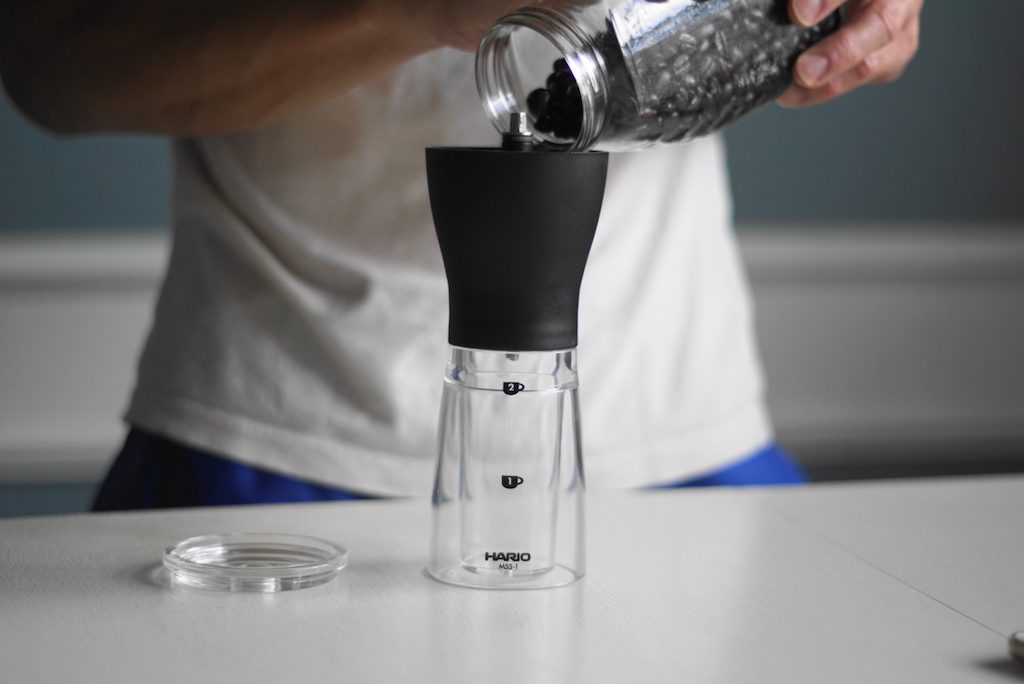
5. Put the top lid back and press down for a snug fit closure.
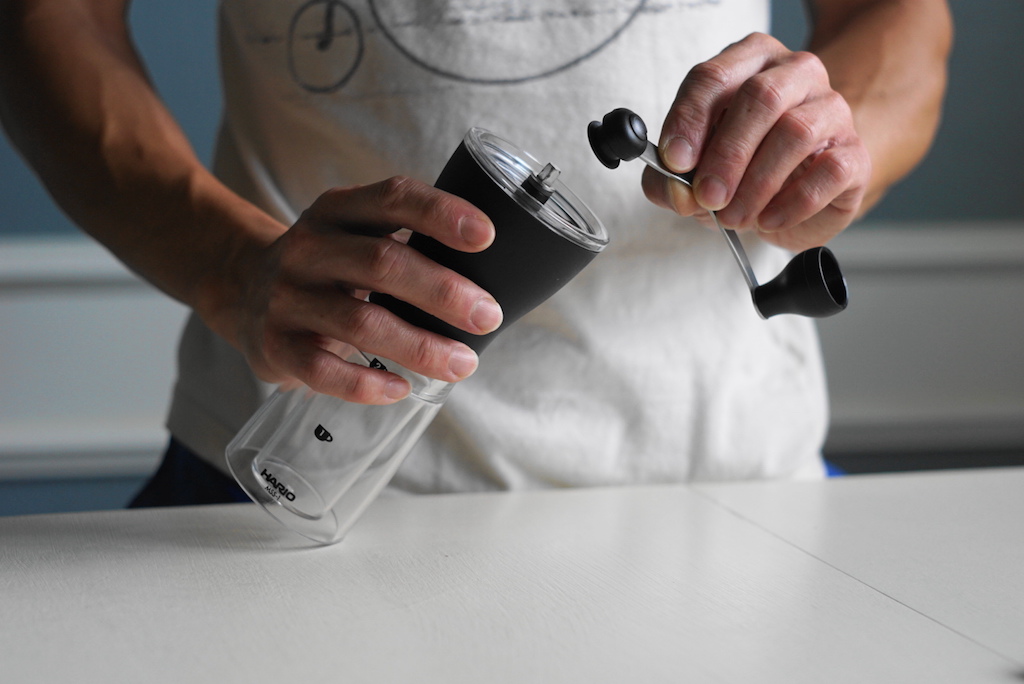
6. Install the lever.
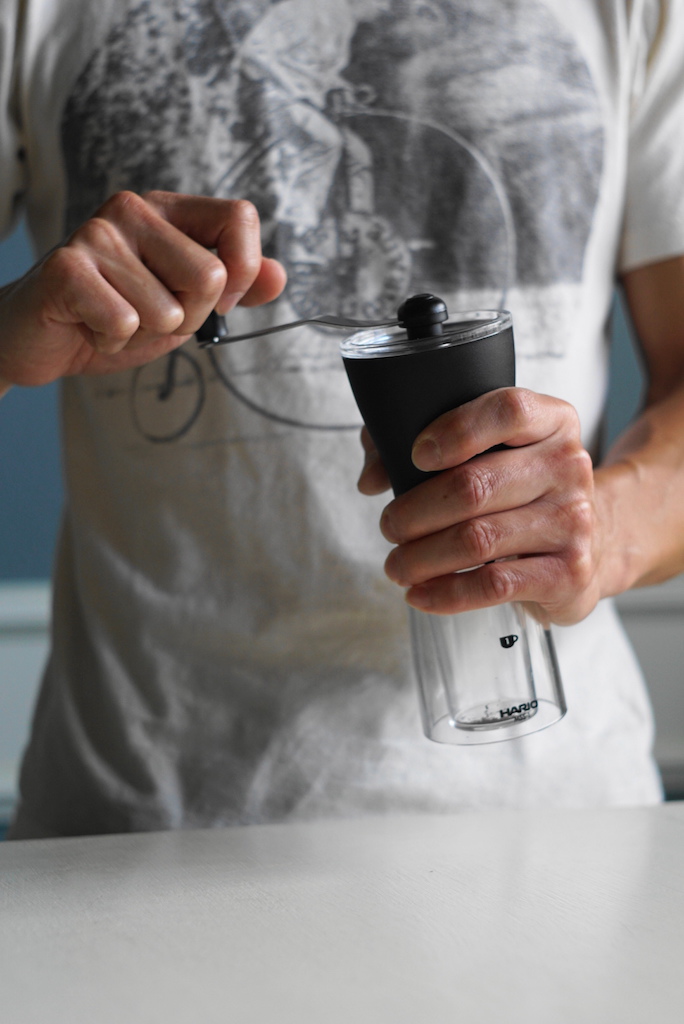
7. Crank clockwise. You should feel resistance while grinding the beans. Keep cranking the lever until there is no resistance and that means that you are done.
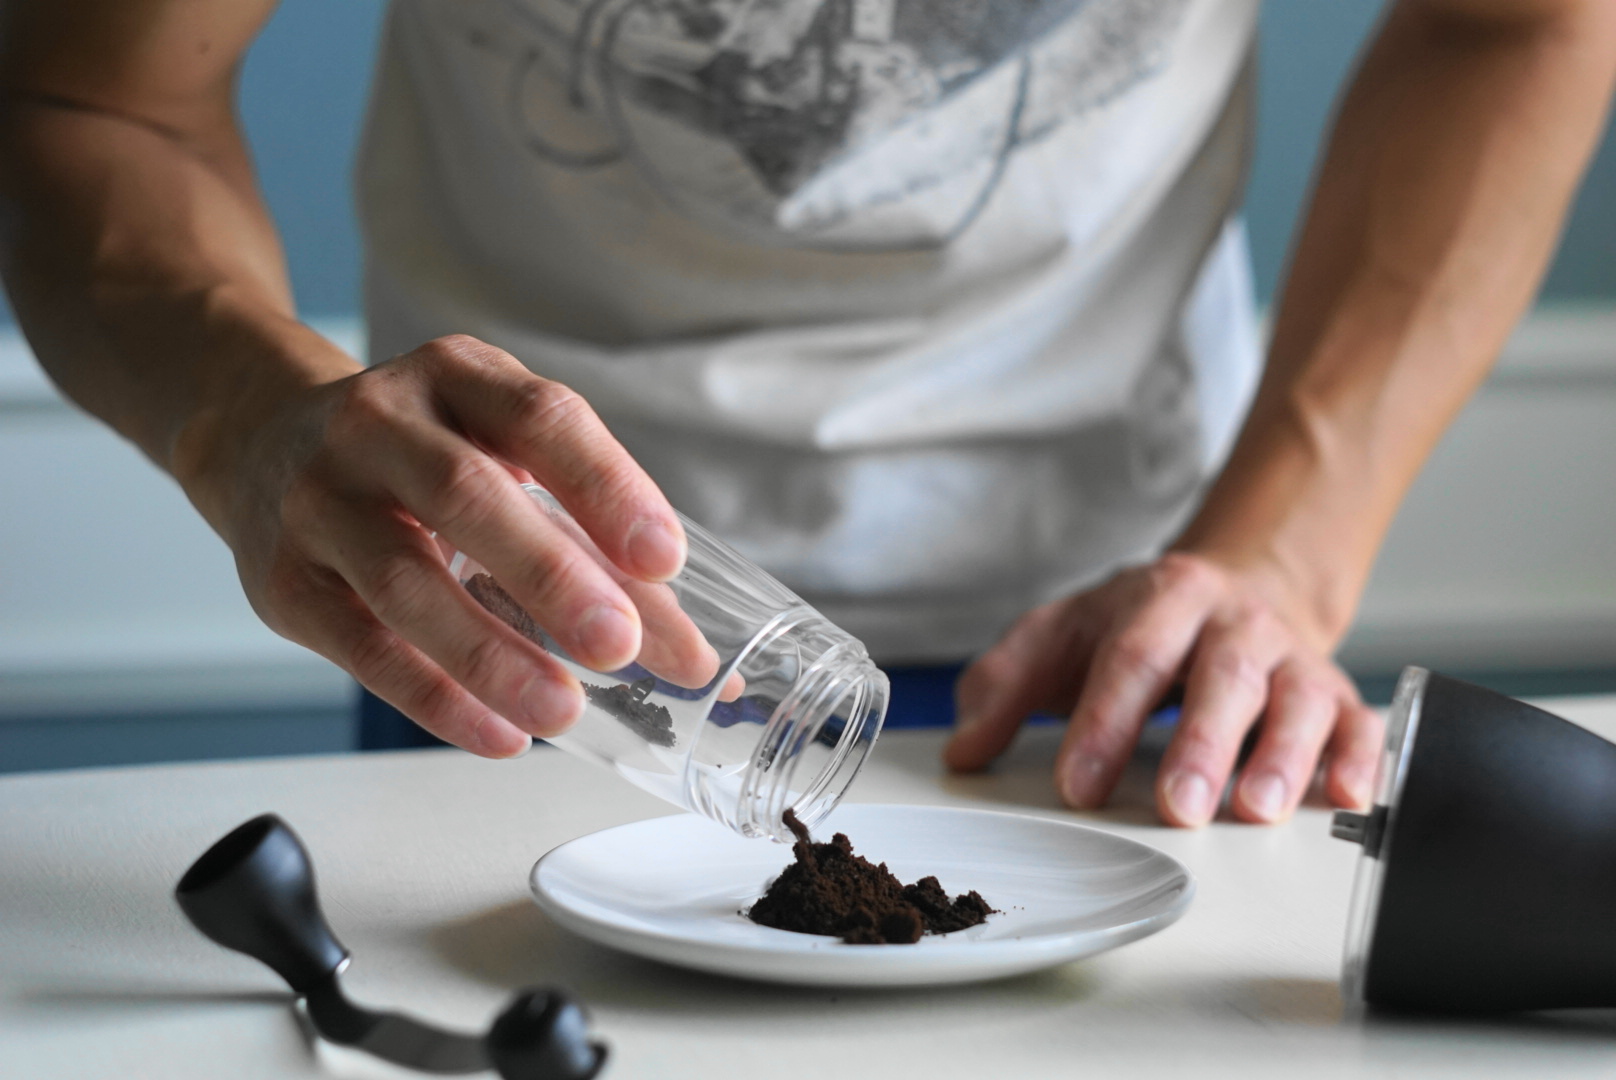
8. Pour the ground out and it is good to go.

9. This picture shows different ground particle sizes from 1 click to 16 clicks, fine to coarse respectively.

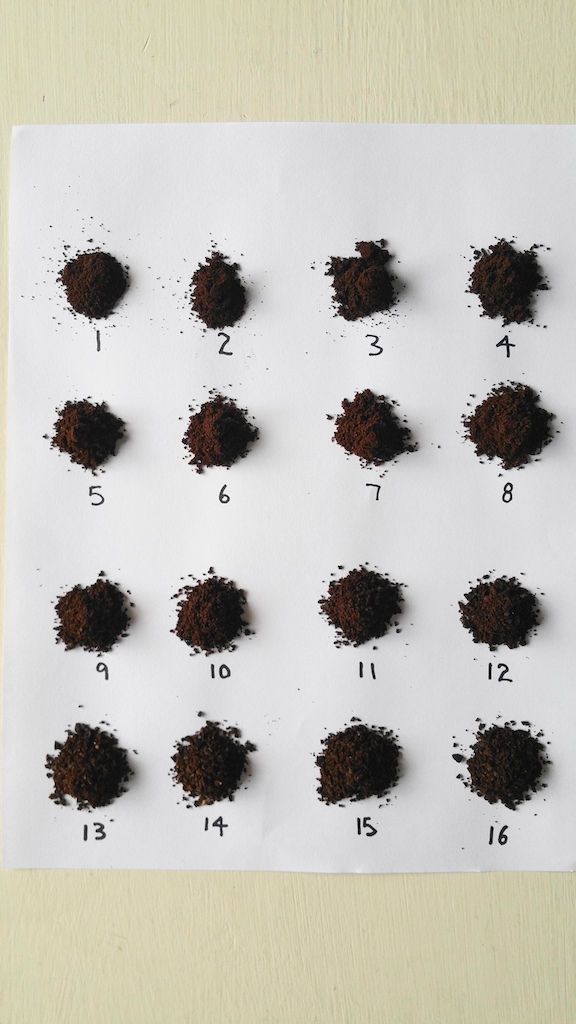
Below are some examples of grind settings for different brew methods
Espresso – 2 clicks
Moka pot – 3 clicks
Drip – 5-7 clicks
Percolator – 10 clicks
French press – 12 clicks
Syphon – 8 clicks
Chemex – 8 clicks
Last but not least, cleaning and maintenance should be part of the practice in order to keep the Hario manual grinder in its tip top condition. You may wash the ground receptacle with soapy water to get rid of the coffee oil residue. However, don’t use water on the burrs as it could shorten its lifespan. Use a toothbrush instead and gently brush any grits or particles off.
Happy grinding, happy brewing!
The Hario Skerton Ceramic Coffee Mill works the same way as the Hario Mini Mill. The Hario Skerton is slightly bigger and heavier. One has a plastic receptacle (lighter), and the other has a glass receptacle. Both have the same ceramic mill.

Where to buy Hario manual grinder
Hario Skerton Ceramic Coffee Mill
Article and photos by Latte Art Guy